CHIPnGo Dev #8 - Firmware: SD
After the major pain in the butt that getting the display driver written was, I’ll admit I was very intimidated by the idea of writing my own SD driver, as at first glance, it seemed much more complicated. Before I started, I decided I was going to buy a logic analyzer because there was no way in hell I was going to try to debug this in the dark like I did with the display.
 This thing saved my sanity.
Since I was using an SD breakout, the difficult electrical side of things was already taken care of, all I needed to do was wire it up to the correct pins on the MCU and send the right commands. I knew that, like the display, I was going to use SPI to communicate with it, but I decided to keep it on a separate SPI bus from the display. I possibly could have kept them on the same bus and used the chip select pin to switch between who I was talking to, but since they would be operating under different SPI configurations I figured it would just be easier to keep them separate since I had the free SPI bus anyway.
After doing some research, I found two resources that were invaluable in explaining the inner-workings of SD and gave me 99% of the information I needed: this and this.
Like the display, SD in SPI mode uses an idle LOW clock and is latched on the falling edge, so I first configured SPI to operate under that mode. However, in the early initialization procedure, the SPI clock frequency must be in the 100-400KHz range, so I set the frequency to roughly 280KHz.
Once SPI is configured, SD must perform a power on procedure, where you send 74 more or clock pulses which puts the SD card in a state where it can start accepting commands. You must then perform a software reset where you send a CMD0 command with CS held LOW. Finally, you must then perform the initialization procedure which involves sending commands and checking their responses all of which can require pretty precise timing.
I don’t want to go into too much detail as this is not meant to be a guide to interfacing with SD over SPI, but I just want to say how extremely useful the logic analyzer was in all of this. I could see exactly what kind of signal I was sending, and exactly what kind of signal I was receiving, so debugging was a breeze. I’ll never attempt to write a driver without one again if I can help it.
Anyway, with initialization taken care of, it was just a matter of writing functions to read and write blocks of data. This was mostly just a matter of seeing what the commands were and understanding the send command-verify-send/read data loop. The only difficult part was in understanding this loop, but once I figured it out, debugging was once again a piece of cake thanks to the logic analyzer.
So all-in-all, the SD driver (you can view my library here) was actually easier to implement thanks to how much documentation there was and since I was a bit more experienced with SPI now.
However, I only got to the point where I could perform raw read/writes. Implementing a file system such as FAT32 seemed significantly more complex and overkill for what I was trying to achieve. All I needed was to read the raw CHIP-8 game bytes (along with some metadata) from the SD card, so next step was just coming up with a simple storage format for games and writing a tool to make adding/configuring games to the SD card easy, which I will cover in the next couple parts of the series.
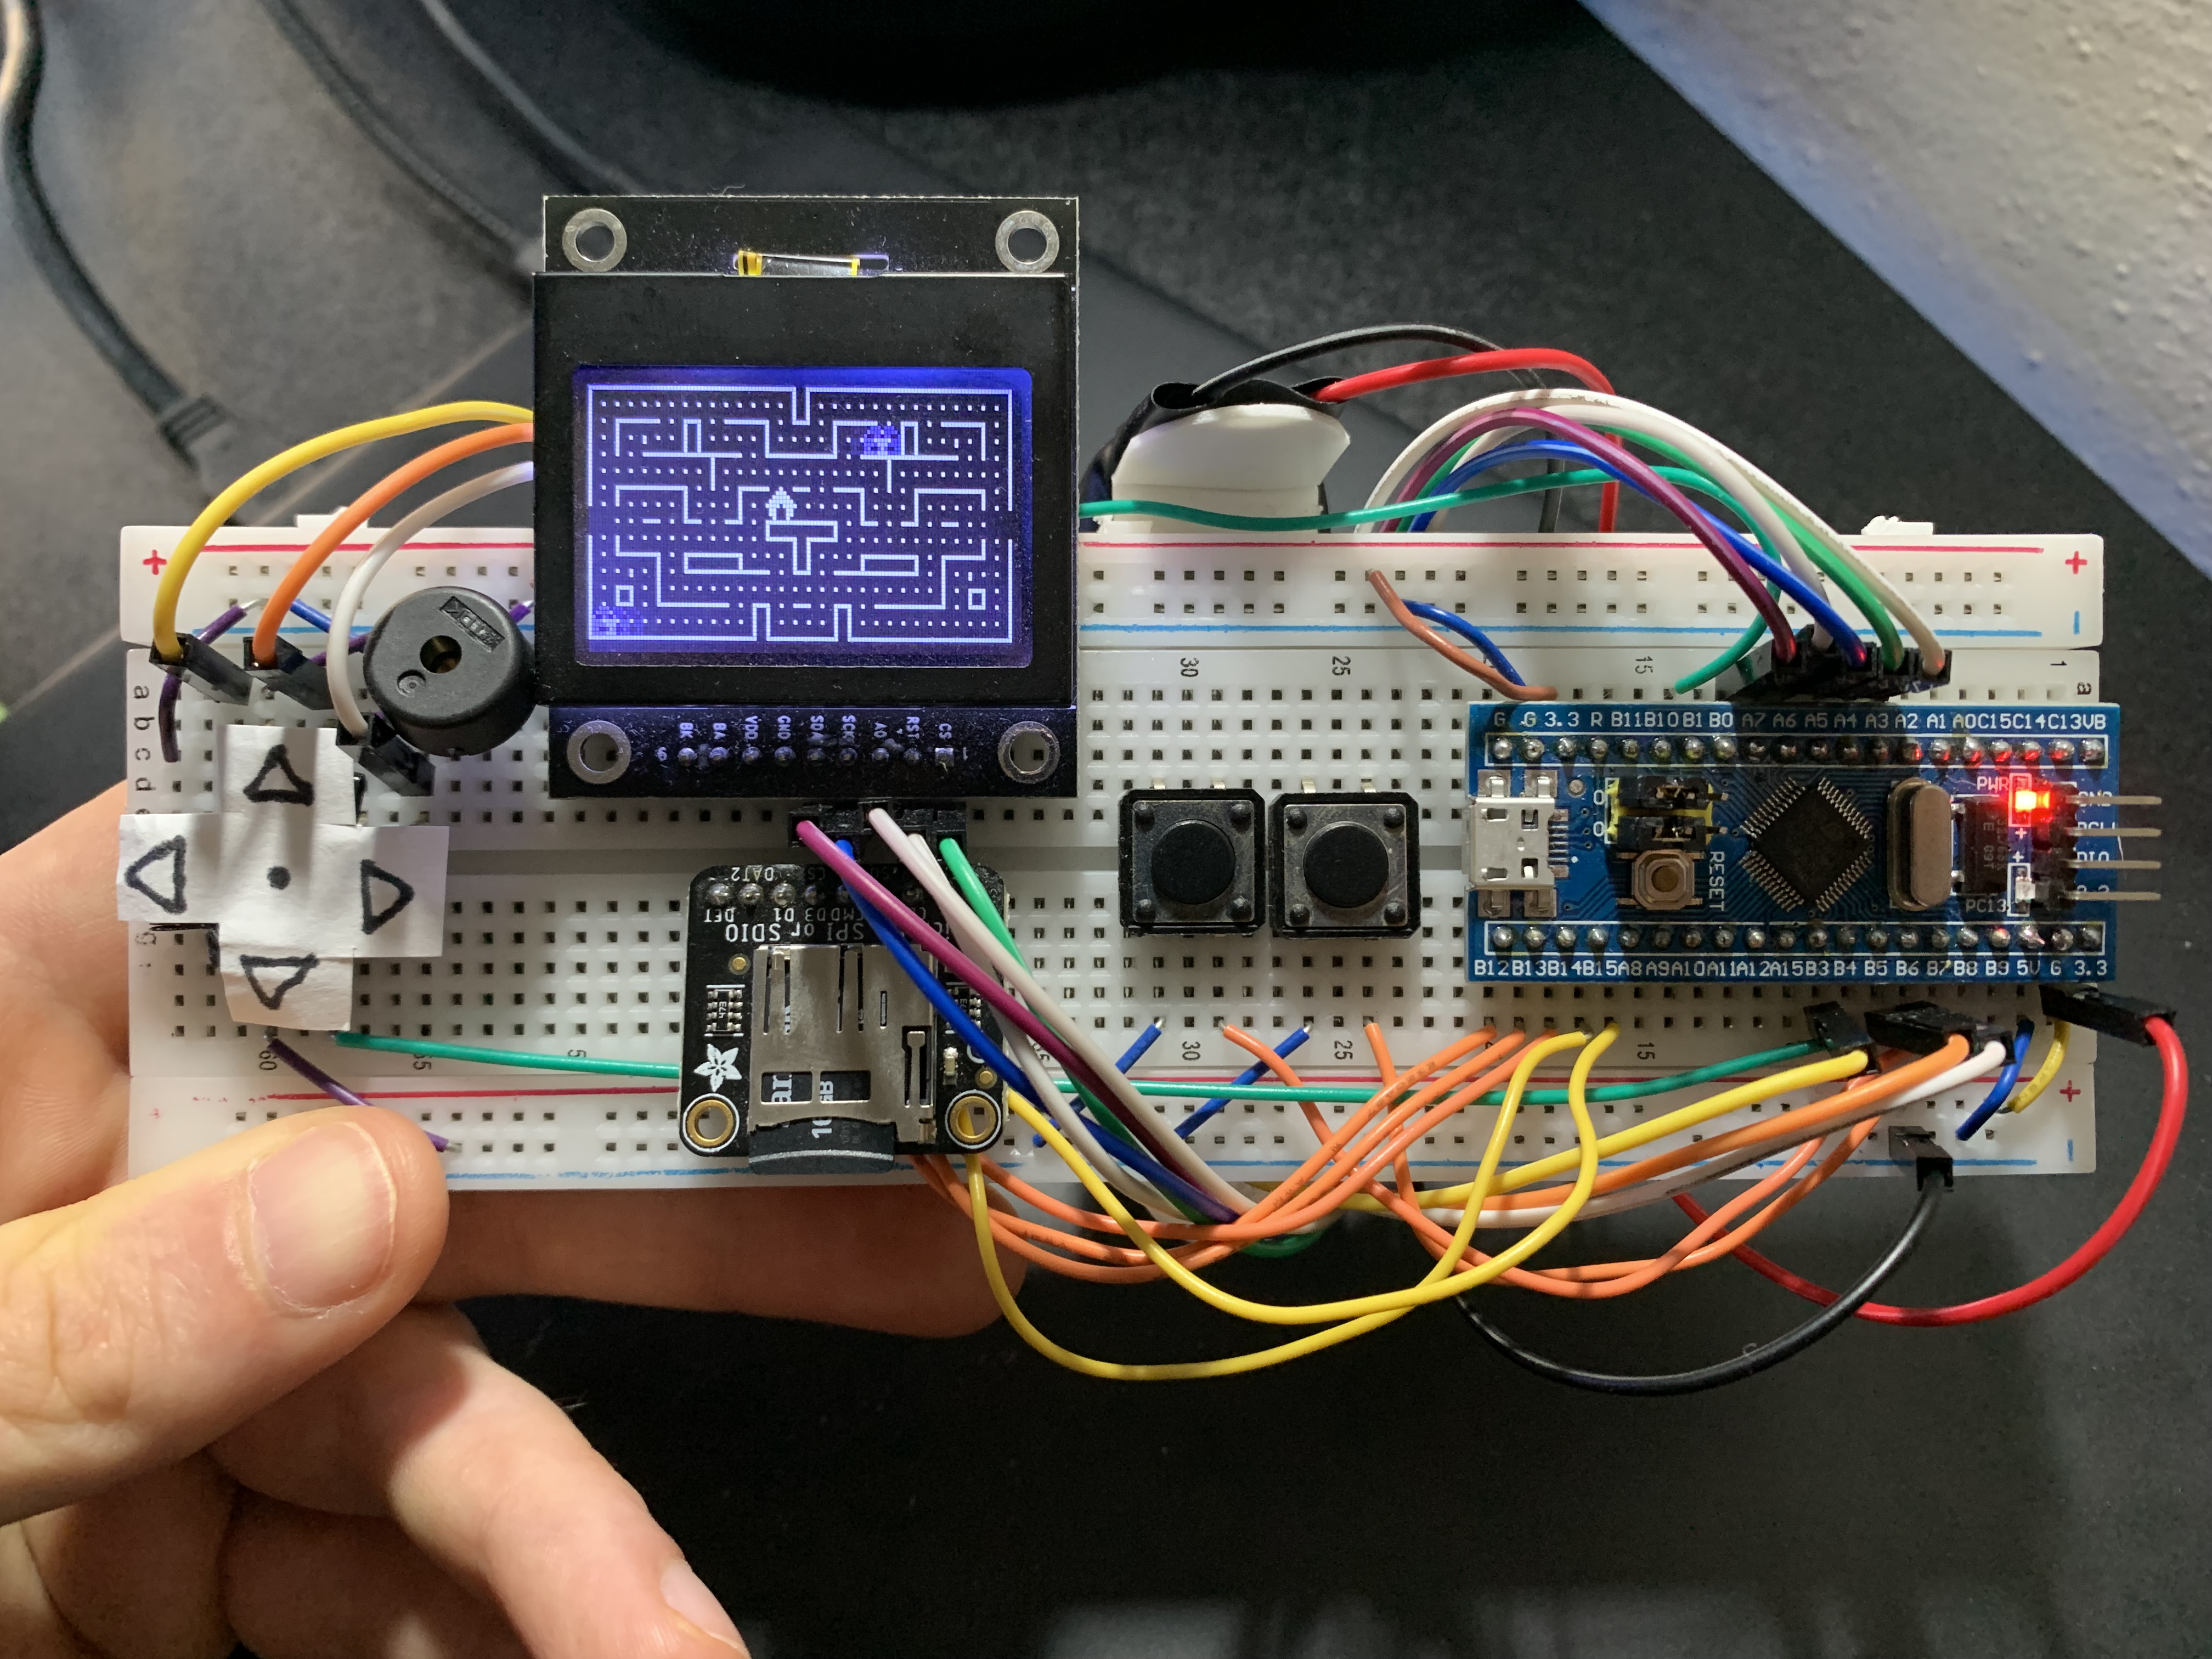 CHIPnGo is now running a game loaded directly from SD!
| << Prev | Next >> |