CHIPnGo Dev #3 - Components
Before I began selecting components, I had to settle on a general design first. The main consideration was if I was going to stick with the original 16-key input that the COSMAC VIP had or greatly reduce the number of input buttons. During my extensive testing of my emulator, I realized most CHIP-8 games only ever made use of a few keys. Knowing this, I decided to go with the “classic” input system of four directional buttons and two action buttons, and settled on a final design that was largely inspired by the GameBoy Advance.
 Simple and no-nonsense.
Microcontroller
The microcontroller was the first component I selected, as I’d figured it would likely be the most important one and influence the selection of other components. Based on some of the previous research I had done, I had heard STM32 MCUs were quite popular in industry so I figured I’d go with something in that family just to get familiar. I also wanted a chip on a slim devboard, since I don’t feel comfortable yet working with bare surface-mount components and thus was going to integrate the devboard directly into the final product.
Next up was to decide on the technical specs I needed. CHIP-8 games expect up to 4kb of memory (and up to 64kb for XO-CHIP games), plus I would need an additional 1kb for the display buffer (128x64 monochrome display, so 1 bit per pixel = ~1kb). Then on the safe side maybe an additional 1kb or so for other general memory usage.
As far as clock speed, I know I didn’t need much as CHIP-8 games only typically need about 500-1000 (CHIP-8) instructions executed per second. The main bottle-neck would be enough speed to drive the display, but again even then that wouldn’t require very high clock speeds for my use case so I didn’t focus too much on this aspect.
Finally, based on the research I did, I knew I’d need something with UART and SPI capabilities (which I didn’t really know much about at this point) as well as at least enough GPIO pins to support all my external components.
Ultimately I decided on the STM32F103C8T6 aka “Blue Pill” as the brain of the project (and I selected the slightly more powerful “Black Pill” as backup in case I decided to support XO-CHIP (more on that later)). It provided 20kb of RAM and a max clock speed of 72Mhz, more than enough to run the CHIP-8 emulator, and came in a nice slim profile. On top of that, it only cost roughly $5-6, so seemed like a steal.
The only real downside is, with the MCU shortage going on, clones of these boards are pretty popular and you are more likely to get one of these clones as opposed to the real thing. Despite knowing this, I ordered one anyway, and to no surprise I had indeed received a clone, but it functions nearly identical to the real thing so for five bucks I can’t complain!
 I took the blue pill. Sorry Morpheus!
Display
The display I felt was the second most important component and also the component I spent the most time considering. As I mentioned earlier, CHIP-8 expects a 128x64 pixel monochrome display (well technically, original CHIP-8 only expected a 64x32 display, but I wanted this console to support S-CHIP as well, which expects 128x64).
If I were to support XO-CHIP (which my emulator supports on desktop), I’d need more than a simple monochrome display as XO-CHIP supports three colors, which would likely complicate things further. In addition, I wanted a display big enough to see clearly but not too big to cramp up the console. Of course, it had to be relatively cheap as well.
And this is where I first got hit with analysis paralysis during the project. It turned out that finding a display to meet all my requirements perfectly was actually pretty difficult, especially with my limited understanding of things. A major roadblock was just finding a display that either met the 128x64 dimensions exactly, or at least could be scaled down to that (for example, a 256x128 display where I could just simply draw four pixels for every pixel the emulator “draws”).
I’m sure there are clever ways in software to scale sprites to match a display with an imperfect ratio, but at the moment it seemed beyond me so instead of taking an unreasonable amount of time to come up with a solution, I just stuck to the requirement that the display needed to be 128x64.
Now I needed to find a display with this ratio that also supported three colors if I was to support XO-CHIP. As far as I know, there are only monochrome displays, or basically full-color displays. A full-color display seemed overkill and the cost compared to a monochrome display seemed significant and overall not worth it.
Not to mention, I also had a lot of trouble finding a full-color display that matched the 128x64 ratio. Thus unfortunately it was here that I decided to abandon the idea of supporting XO-CHIP on the console and decided to keep things simple and only support CHIP-8 and S-CHIP.
With the specs narrowed down to 128x64 monochrome, I needed to decide on a size. Again I had a lot of difficulty finding a display that could easily scale to this ratio specifically. The best I could find was 1.54”, which was not quite as large as I really wanted, but I decided this would be good enough even if it’s not ideal.
Therefore I settled on this 1.54” 128x64 LCD Monochrome display because not only did it come in breakout form and communicate via SPI, but it was only $4! In the end it ending up working out fine, but not without a few minor headaches along the way which I will describe in the firmware and PCB posts later.
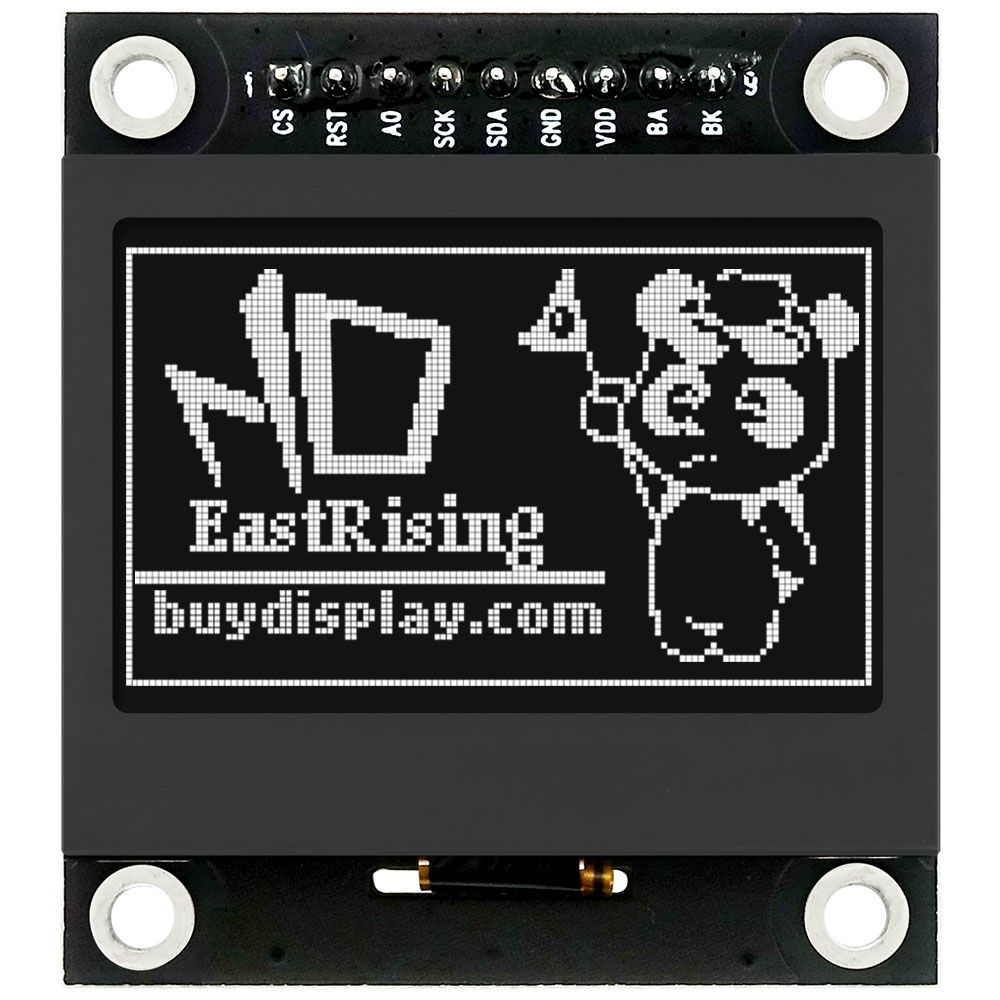 If it works, it works.
SD Reader
I had decided early on that I wanted to mimic the idea of game cartridges via a micro-SD card. This would not be fully necessary, as the Blue Pill has 64kb flash so I could have just hard-coded 10-12 4kb games or so directly into memory (which is what I was doing until I had the SD driver written), but I figured that would be lame and no fun at all.
Selecting an SD reader turned out to be very straight-forward. Again, I wanted something that came in breakout form as my electrical knowledge is weak thus I intended to keep the electrical side of things simple.
It didn’t take long to come across this micro-SD breakout from Adafruit which seemed to fit my needs perfectly. Communicates over SPI, works with 3V (just like the MCU), and only $3. Done!
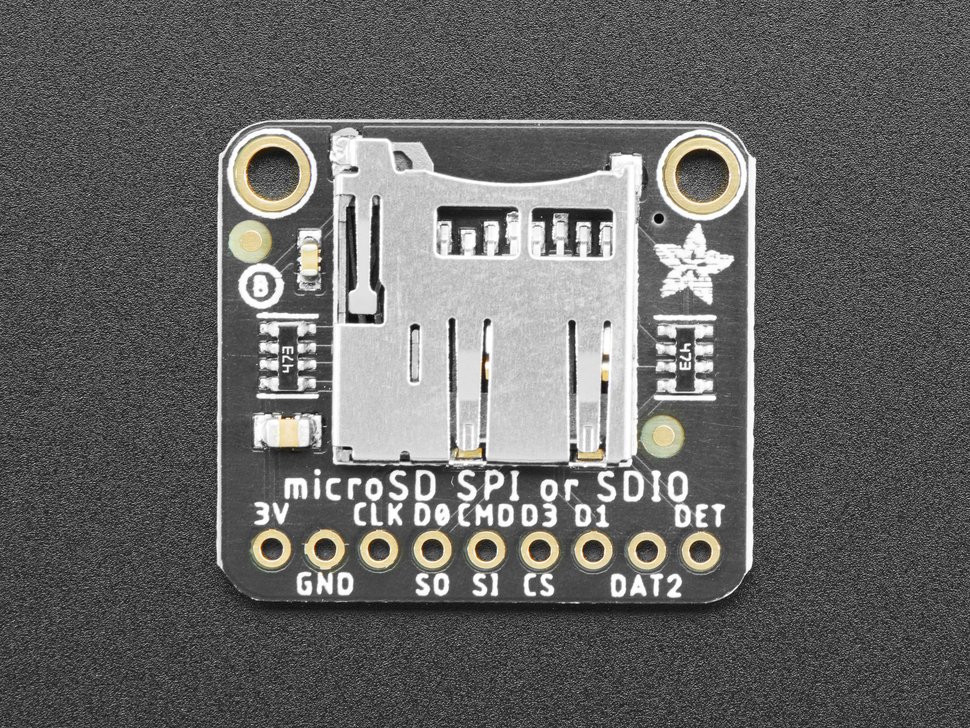 Had to have game cartridges for nostalgia's sake.
Buzzer
Fortunately CHIP-8 sound is very simple (XO-CHIP is slightly more complicated but by this point I had already decided to abandon XO-CHIP support) since only a single tone (traditionally 440Hz) is supported, with the duration of the sound dictated by an internal timer. I had to do some research into the different ways that a microcontroller could produce sound, which led me to Piezo buzzers.
After looking around for a bit, I came across the PS1240 Piezo buzzer which operates in the 3-30V range. Admittedly I still don’t fully understand how Piezo buzzers work, and I didn’t even know if this buzzer would actually meet my requirements, but for only $1.50 a pop, I figured I’d might as well give it a try.
 How hard could getting one of these to work be?
Buttons
What would a game console be without buttons? Like I mentioned earlier in this post, I decided to go with four directional buttons and two action buttons. I figured it would make sense to go with smaller buttons, arranged in a “cross” shape for the directional input, and two larger buttons as the action input.
Since buttons are so cheap, I felt it would be hard to really go wrong here, and I could experiment during the prototype phase. Thus I quickly ordered these small guys and these slightly larger guys.
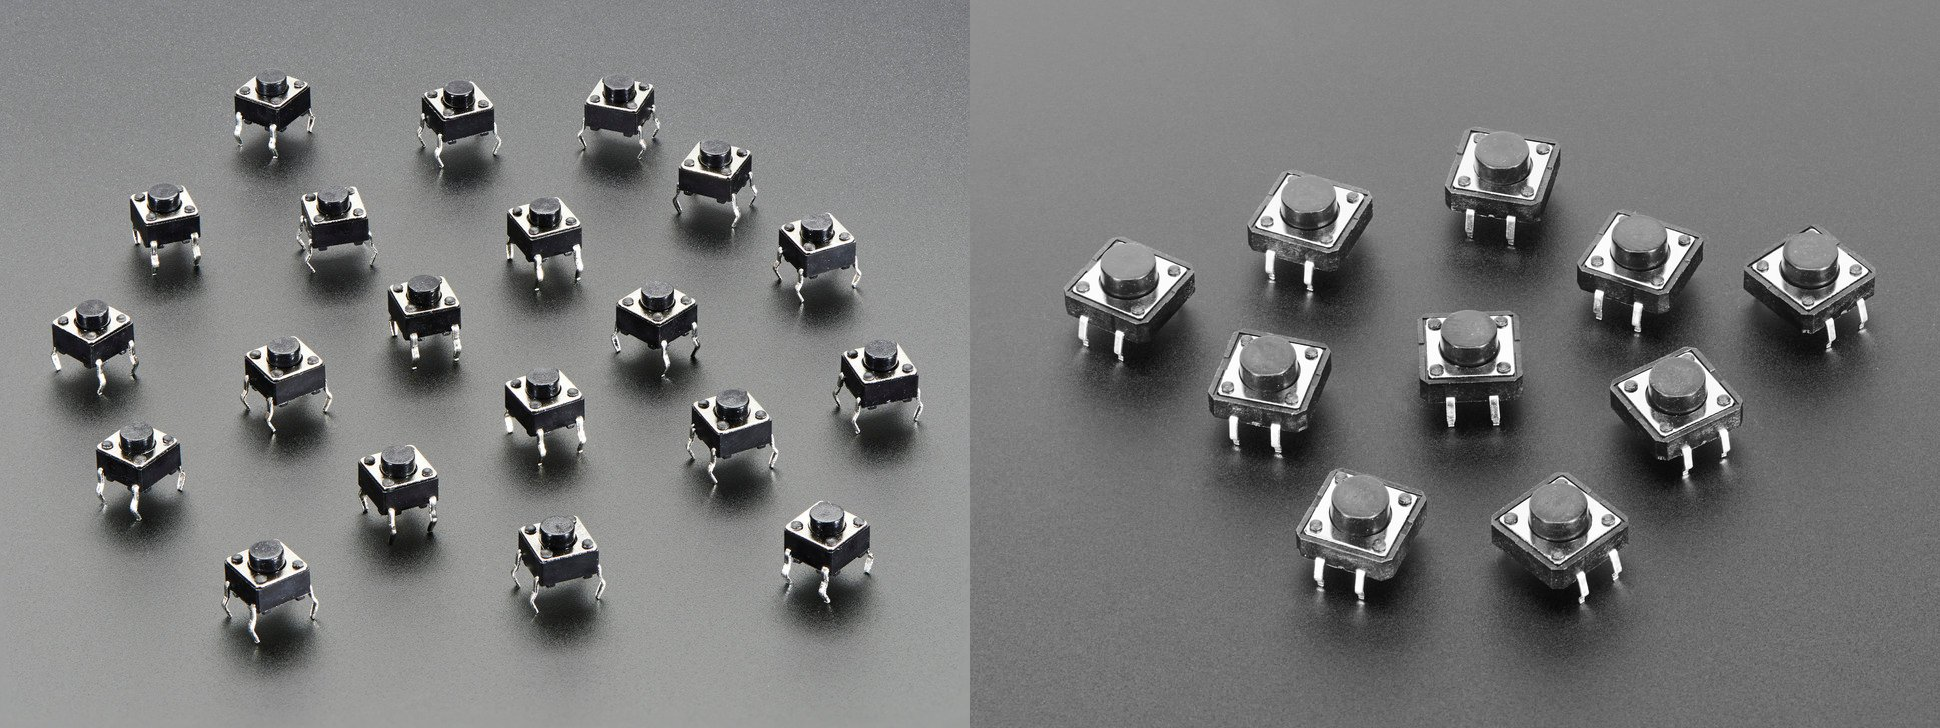 So many buttons!
Power Switch
I hadn’t selected a power switch until after my prototype was built (where I was just directly powering from my laptop’s USB) but it surprised me that there was actually some depth when it came to selecting a simple switch. SPST? SPDT? What the hell is that? Oh and wait I have to consider how much current the switch supports? Damn!
I go into more detail about researching and selecting a switch later in this series, but I ended up settling on this SPST switch though ultimately I wasn’t very happy with it. Oh well, at least it gets the job done.
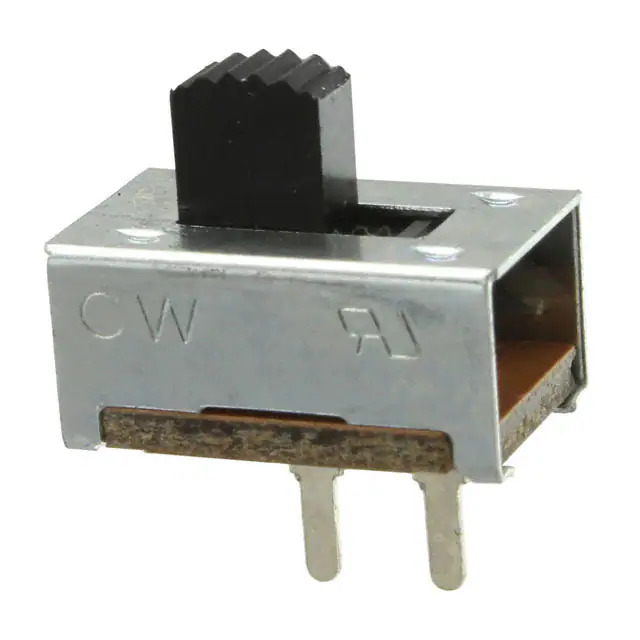 Ugly but functional?
Battery Holder
Like the power switch, I had held off on deciding on a portable power supply until after the breadboard prototype was complete, and I go into more detail about my power considerations later in this series. In a nutshell, I had settled on two AAA batteries in series and simply went with this battery holder as I didn’t really need anything fancy.
 Gotta secure those AAA batteries.
With most of my components decided upon, it was time to whip out the breadboard, write some code, and get to work on a prototype.
| << Prev | Next >> |