CHIPnGo Dev #2 - The Plan
Overall I had two main goals with this project: to learn and to finish. I could have easily just picked up an Arduino and used the framework along with a bunch of prewritten libraries and had the same outcome since I wasn’t doing anything too novel or complex, but I would have likely learned very little. Instead I decided I would write every driver from scratch, not even using a HAL, as I really just wanted to get into the nitty-gritty of things even if it meant it would take significantly longer to finish the project.
Though as I mentioned, finishing was still an important objective. In the past I’ve been stuck in analysis paralysis, afraid to move forward because I felt I didn’t have all the information when it came time to make a design decision, and the project was never completed. I knew I would face this dillemma again, especially since I was basically brand new to electrical theory (I’ve never even really made a simple lightbulb circuit before this) so I decided I would settle for “good enough” as opposed to “optimal” after a reasonable amount of research and consideration.
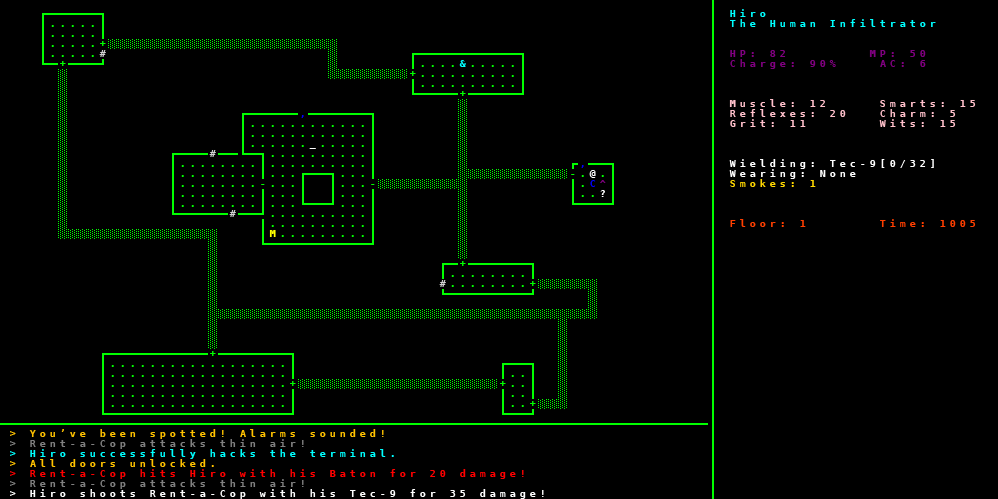 A cyberpunk rogue-like I was working on, unfortunately abandoned to analysis paralysis...
So I must warn any experienced engineers reading this that you are probably going to see some very poor design decisions made along the way that will make you want to run to the nearest bathroom and vomit, but I needed to start somewhere and be okay with making mistakes if I was actually going to get anything done.
Having said that, beyond just getting something functional, I was also focused slightly on cost and ergonomics. I wanted to try to keep the parts as cheap as possible while still meeting certain requirements, and overall I had to plan on a design that was at least somewhat comfortable to hold and look at (like most handheld game consoles). Reliability and power optimization were not a high priority for me as I wanted to keep things as simple as possible for my first design as to not get overwhelmed, so as you can see the final schematic is quite simple and there is not a whole lot extra such as reverse polarity protection going on here.
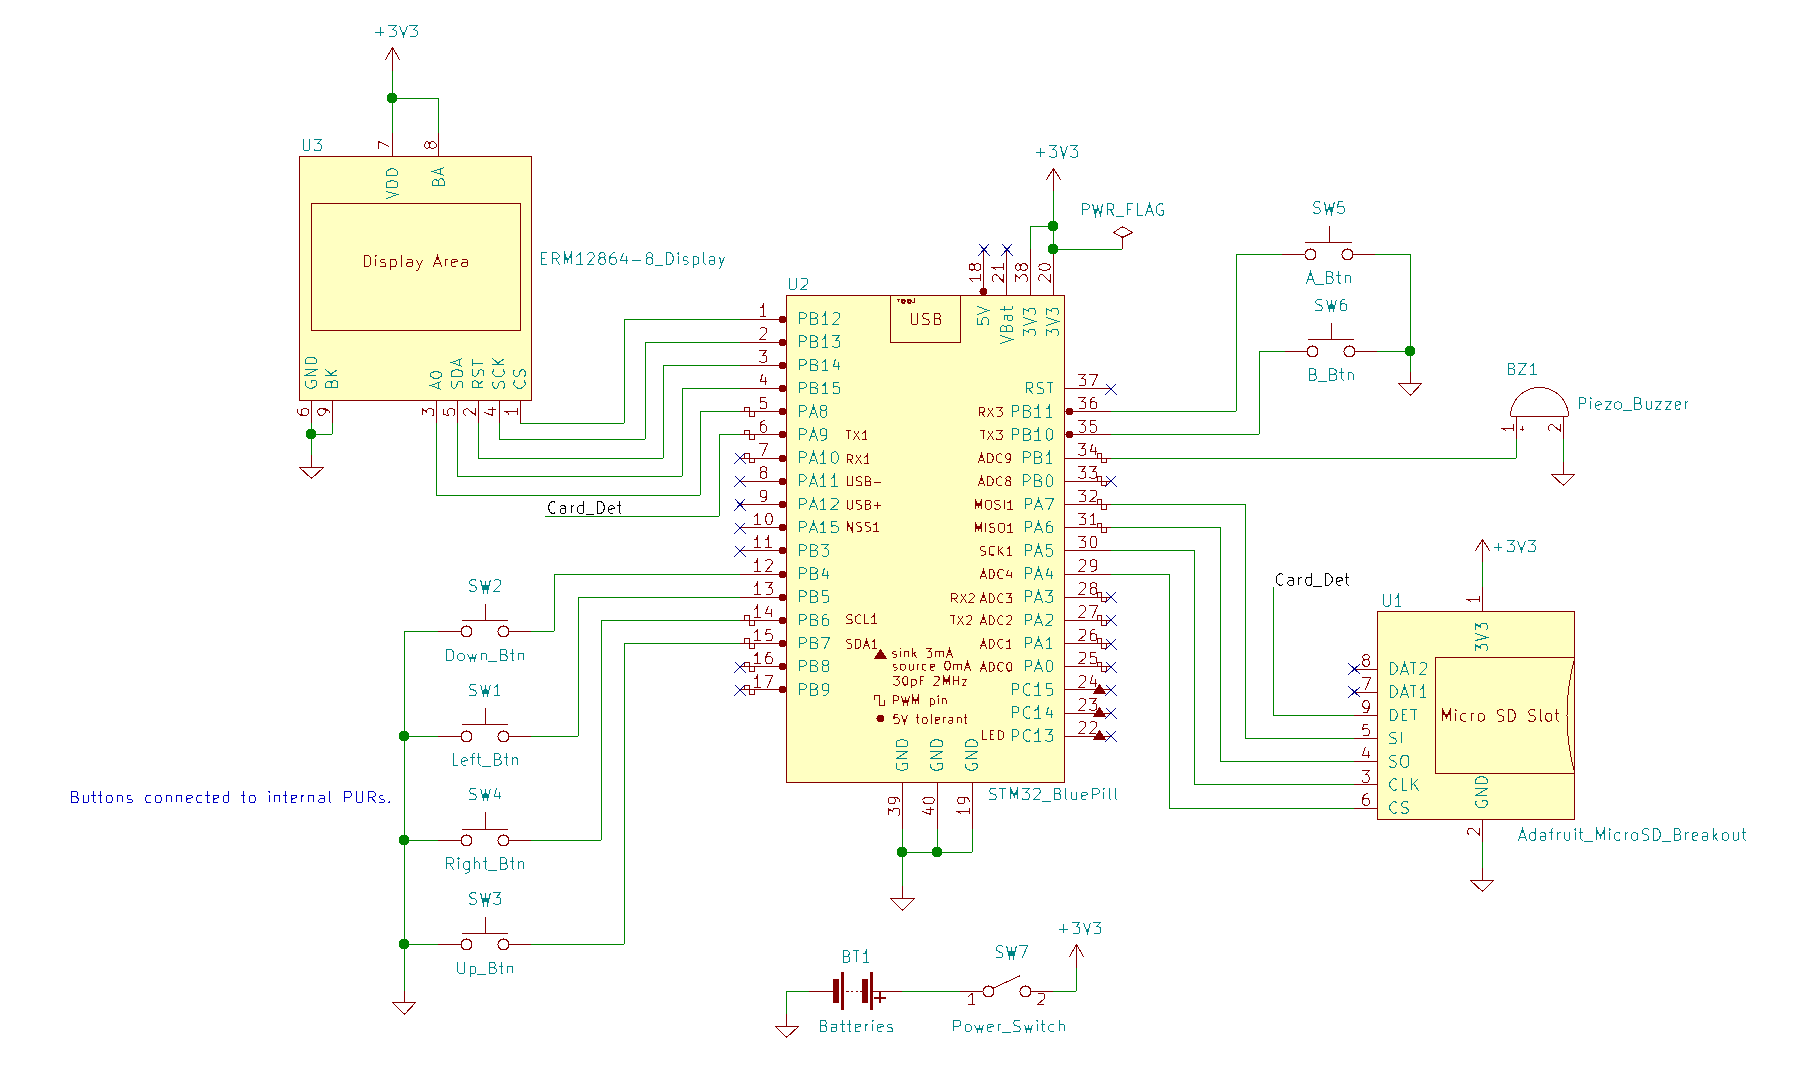 This is the final schematic I based my PCB off of, but the breadboard prototype slowly evolved to this point over time.
Thus I began some initial research, trying to figure out what I’d need, what was out there, etc. Once I felt ready, I began selecting components, which I’ll cover in the next post of this series.
| << Prev | Next >> |